If you are thinking of constructing a gravel driveway over your existing one, you might be wondering what’s involved and whether or not you can do it by yourself. Here is a brief checklist of things to consider before deciding.
1. Plan
- The first step is to think about where you should put your driveway. Survey your area and decide the best place for the driveway. Decide if you want a parking area or a circular driveway. Whether you decide on a larger driveway or a smaller one will depend on space and budget.
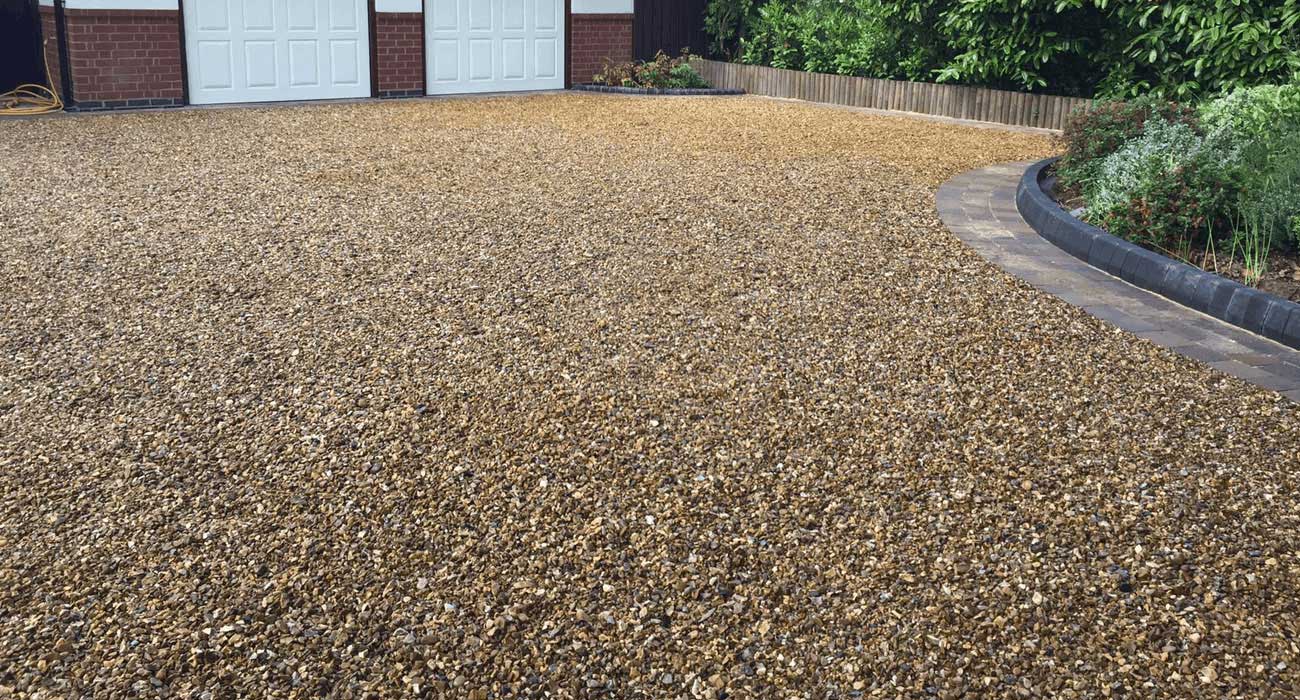
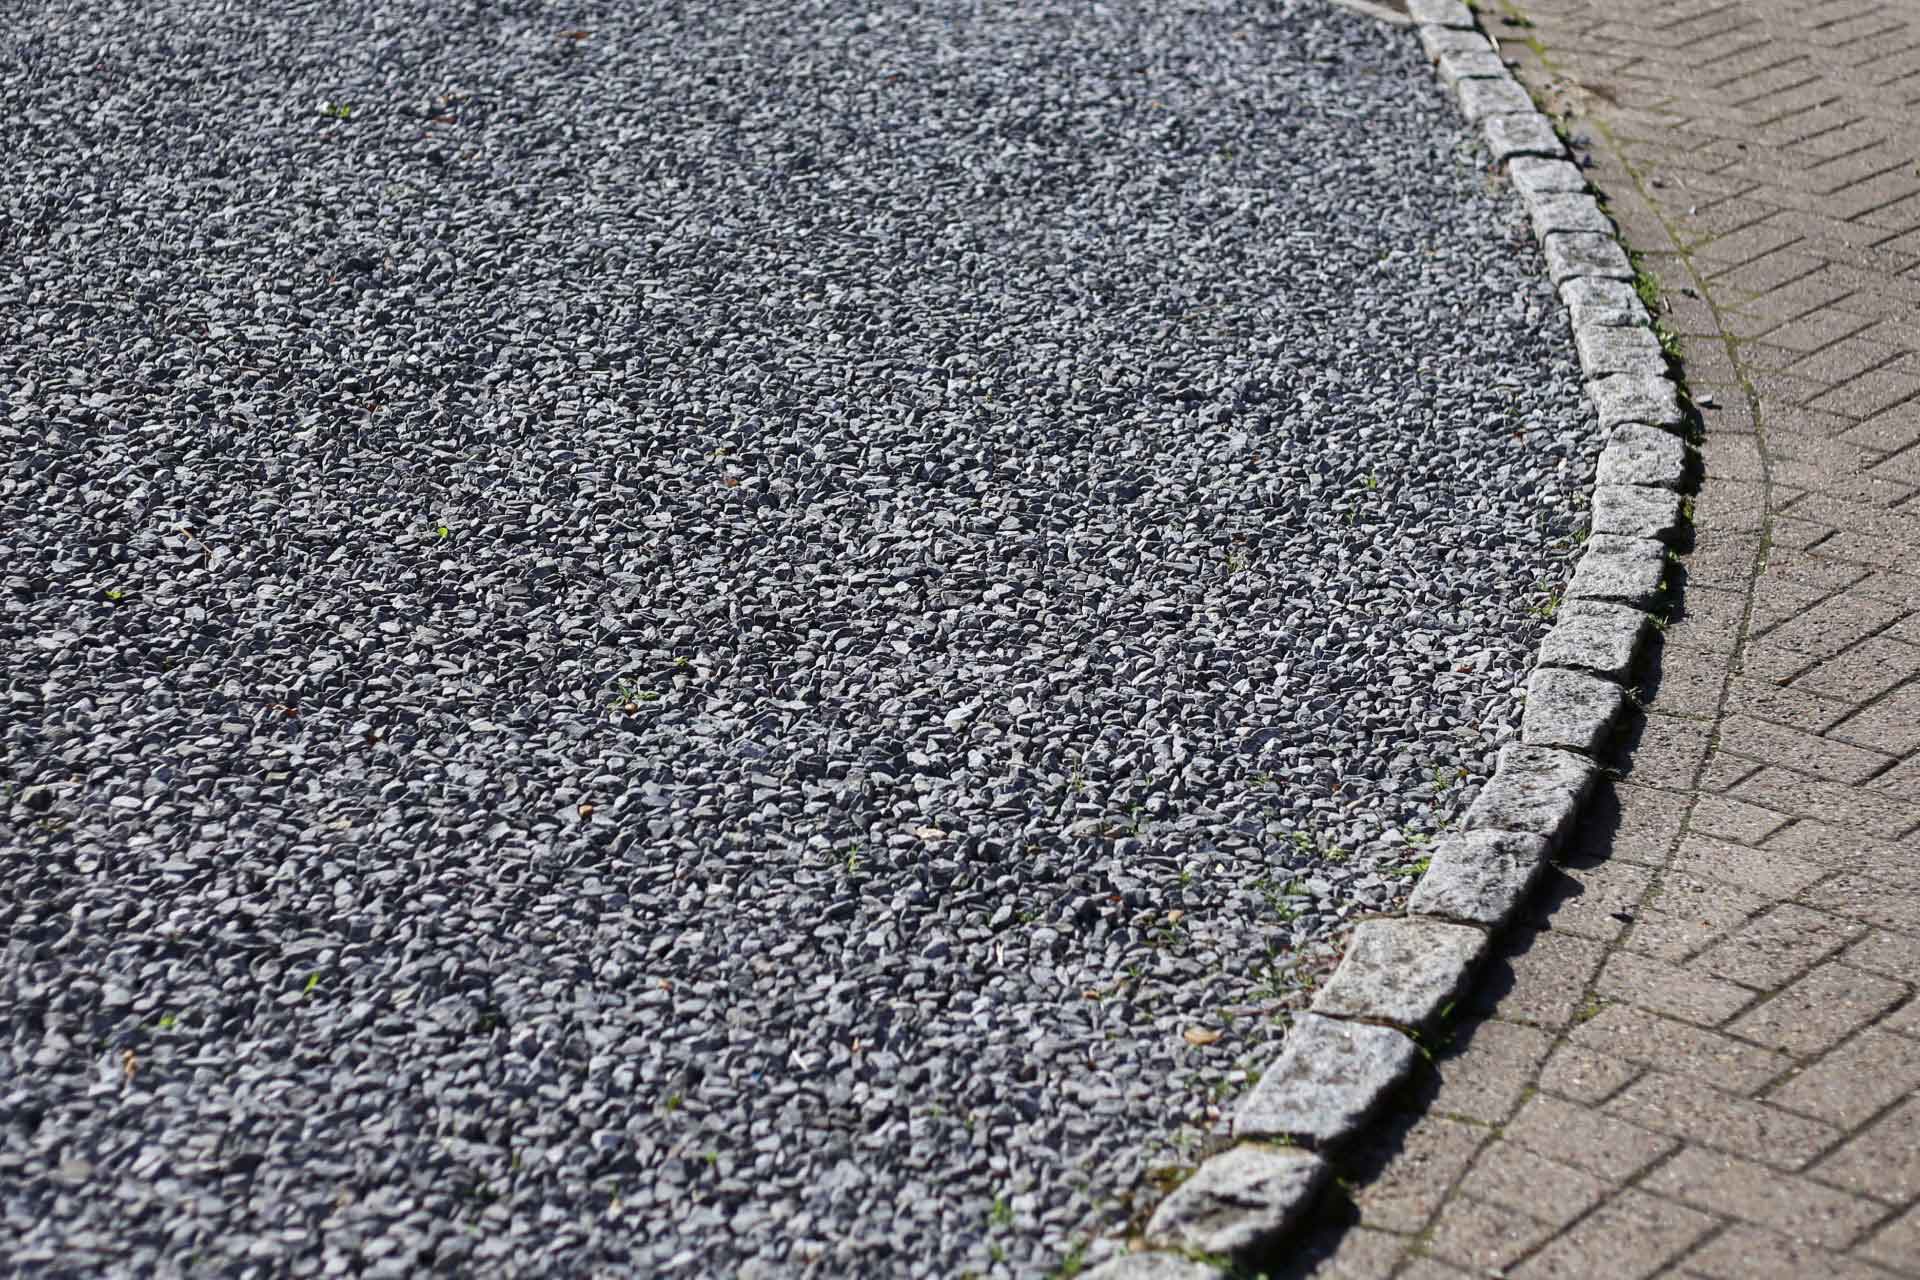
- Decide if you want to add a border for the driveway. Some people choose to delineate their driveway area with landscaping timber or bricks.
- Mark out the driveway area. You will need to mark off the area of your new driveway before starting the driveway project. You will need to know the length and width of your entire driveway.
- Place sticks or landscape stakes in the ground every 8-10 feet along the length of one side of the area that will be your driveway.
- Place a second set of stakes at least 10-12 feet across from the first set of stakes to mark the width of the driveway.
Tip: If your driveway curves, measure in sections and add them together instead of trying to measure all at once.
2. Gather Materials
- Consider laying 2-3 layers of gravel. For a really stable driveway, experts recommend laying 3 separate layers of different sized stones. This take extra planning and cost more, so decide early on if this is appropriate for you.
- Determine how much of the work you can realistically do yourself. Laying a gravel driveway yourself will require time and physically intense labour. If you are physically unable to do heavy lifting and repetitive work (such as raking the gravel), you may need to hire someone to help you.
- Calculate how much gravel you will need. To determine this, you need to multiply your driveway’s length x width x depth. The depth of the gravel can vary, but should be at least 10-15cm. If you plan to do 2-3 layers, each layer will need to be 10-15cms thick, so you will need to calculate each layer separately.
- Order the gravel and schedule your deliveries. Call a local gravel company and tell them how much gravel you need and what size and type of gravel you prefer.
- Find the hand tools that you need: a shovel, rigid metal rake, thick gardening gloves, and possibly a wheelbarrow. Ideally, you will use a mechanical compactor to press the dirt and stones. This would be very expensive to buy, so try to rent it from a tool rental company.
- An alternative to obtaining your own tools is to hire someone who has a backhoe or tractor. They will be able to do the work much faster than you can do it by hand.
3. Prepare the Driveway Area
- Level the surface of the driveway. This doesn’t have to be perfect since it will be covered by stones, but your driveway surface should be pretty level—any areas that are deeper than other areas may lead to water pooling and cause mud puddles that have to be filled in with more gravel later.
- Compact the dirt. Use a mechanical compactor, have someone drive over the area with a bulldozer, or drive over the area repeatedly with a heavy vehicle such as a large truck.
- Lay down a weed mat. If you want to prevent grass and weeds from growing through your driveway, you may want to lay a weed barrier underneath your stones.
- Place your driveway edging/border of timber of bricks (if you are using them) before the gravel is delivered so they can hold the stones in place. If you do not want a border, you can skip this step.
4. Lay and Spread the Gravel
- Ask the gravel deliverers if they can help spread the gravel. Some trucks may only be able to dump the stones in one big pile, but some trucks can let them out a little at a time, spreading them across the span of your driveway, which will save you a lot of work.
- Spread the stones. Use a wheelbarrow to distribute the rocks evenly along the length of your driveway. Then use your shovel and hard metal rake to spread the rocks evenly across the width of your driveway.
- Tamp down the rocks with the mechanical compactor. You can also try driving over the area repeatedly with a heavy vehicle such as a large truck.
- Repeat the spreading and compacting process for each layer of gravel. If you only have one layer, you can move to the next step.
- Grade the area. Your driveway should be slightly elevated in the middle and lower on the sides to promote water drainage. Don’t go too crazy with the grading; you don’t want your driveway to look like a pyramid. The ideal grade is very subtle, with the middle 2% to 5% higher than the sides.
- Clean up your new driveway. Remove the landscape stakes and twine markers.
- Maintain your driveway. When necessary, rake gravel that gets displaced back into your driveway. Also think about adding gravel every 2-3 years to any low or bare spots that emerge over time.
If this all sounds like too much or you don’t have the time or resources to do this yourself, contact our team at Ambient Construction. We offer expert advice and help with laying a new gravel driveway, or any other type of driveway. We can also manage your project from start to finish.
Adapted from source: http://www.wikihow.com